
How to install concertina razor wire correctly – a simple guide for security teams.
Proper installation ensures the wire stays tight, sharp edges face outward, and the barrier remains effective for years.
Tools you need:
Heavy-duty gloves and eye protection
Tensioning tools (come-along or wire puller)
Galvanized clips or tie wire
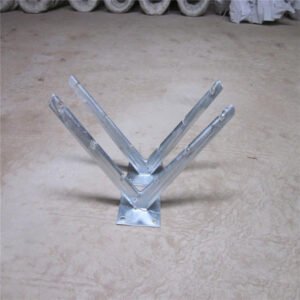
Y-posts or wall brackets
Ladder (for high walls)
Step-by-step installation:
Step 1: Prepare the mounting surface
On walls: install steel angle brackets or Y-posts every 2–3 meters.
On fences: attach Y-posts to existing fence posts.
Step 2: Unpack and expand the coil
Carefully cut the outer packing (use gloves – blades are sharp!).
Pull the coil ends to expand it to the desired length (typically 10–15 meters per coil).
Step 3: Position the coil
Place the expanded coil on top of the Y-posts or brackets.
Ensure the spiral faces outward (the blade tips should point away from the protected area).
Step 4: Connect multiple coils
Overlap two coil ends by 10–15 cm.
Use galvanized tie wire or clips to fasten them together every 20–30 cm.
Step 5: Tension the wire
Attach a tensioning tool to the end of the coil and pull gently to remove sagging.
Do not over-tighten – razor wire should be firm but not stretched.
Step 6: Secure to posts/brackets
Use clips or tie wire at each post or bracket to lock the coil in place.
Step 7: Final safety check
Ensure no loose ends are hanging down.
Verify that all blades face outward/upward.
Post warning signs (“Caution: Razor Wire”) at entry points.
✅ Pro tip for installers: Always install during daylight. Two people are safer than one – one holds the coil, the other ties clips.